
1. Logging into the PVE Web Management Interface#
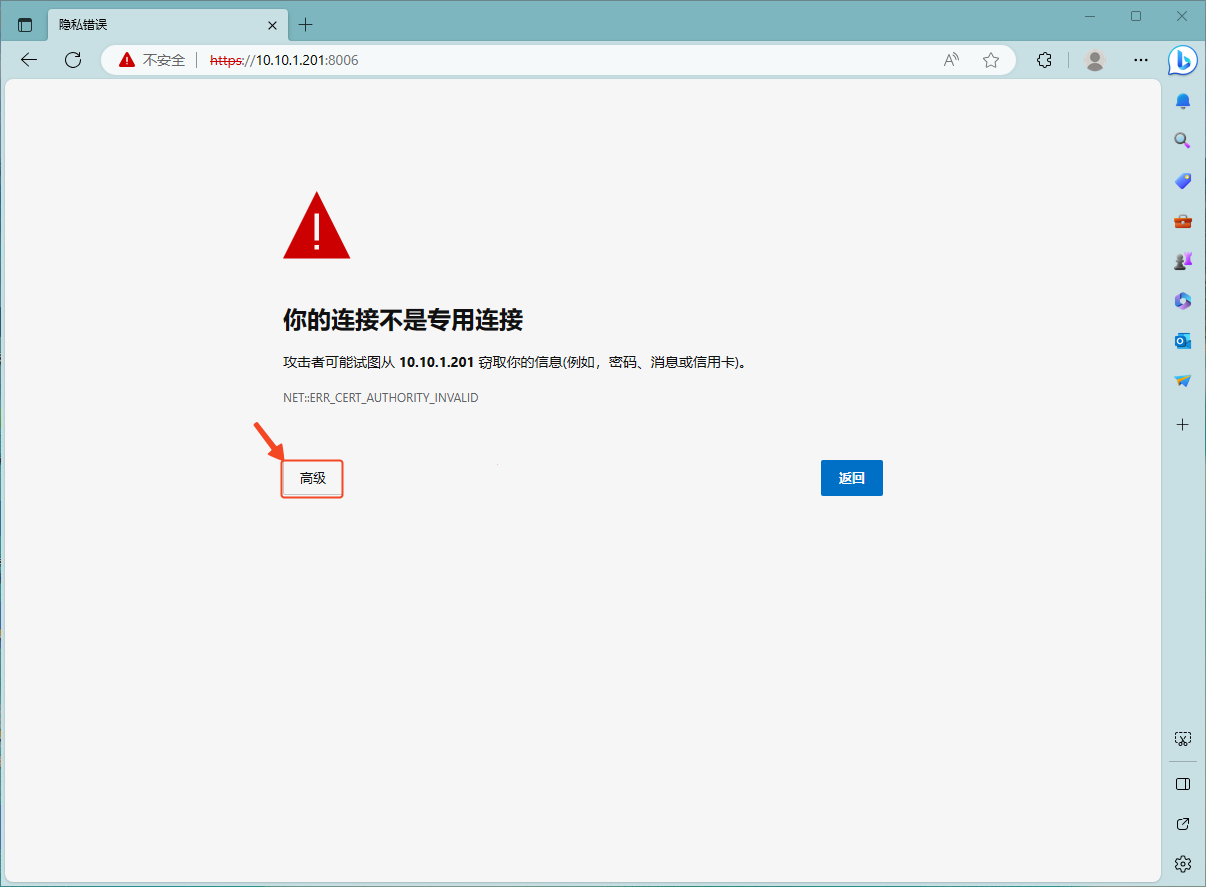
- Open a browser and enter the login address shown during installation (e.g., https://10.10.1.201:8006).
- A security warning will appear — don’t worry, click Advanced.
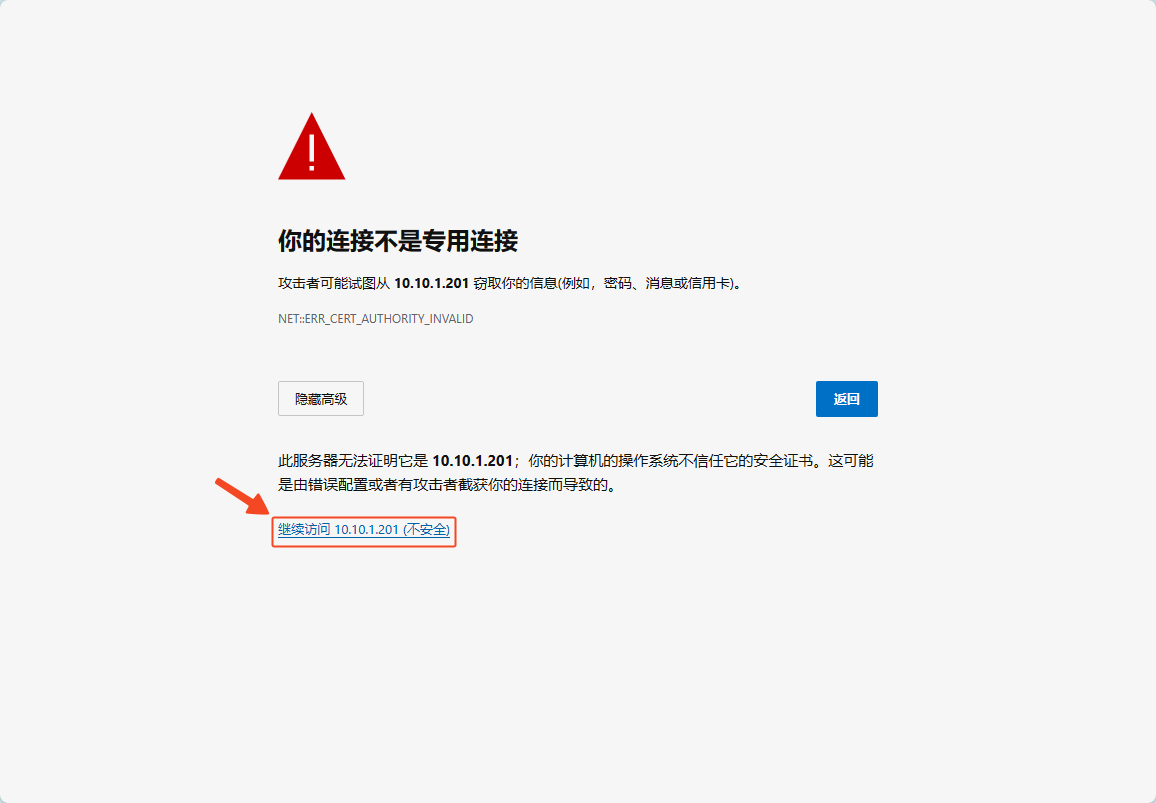
- Click Proceed to 10.10.1.201 (unsafe).
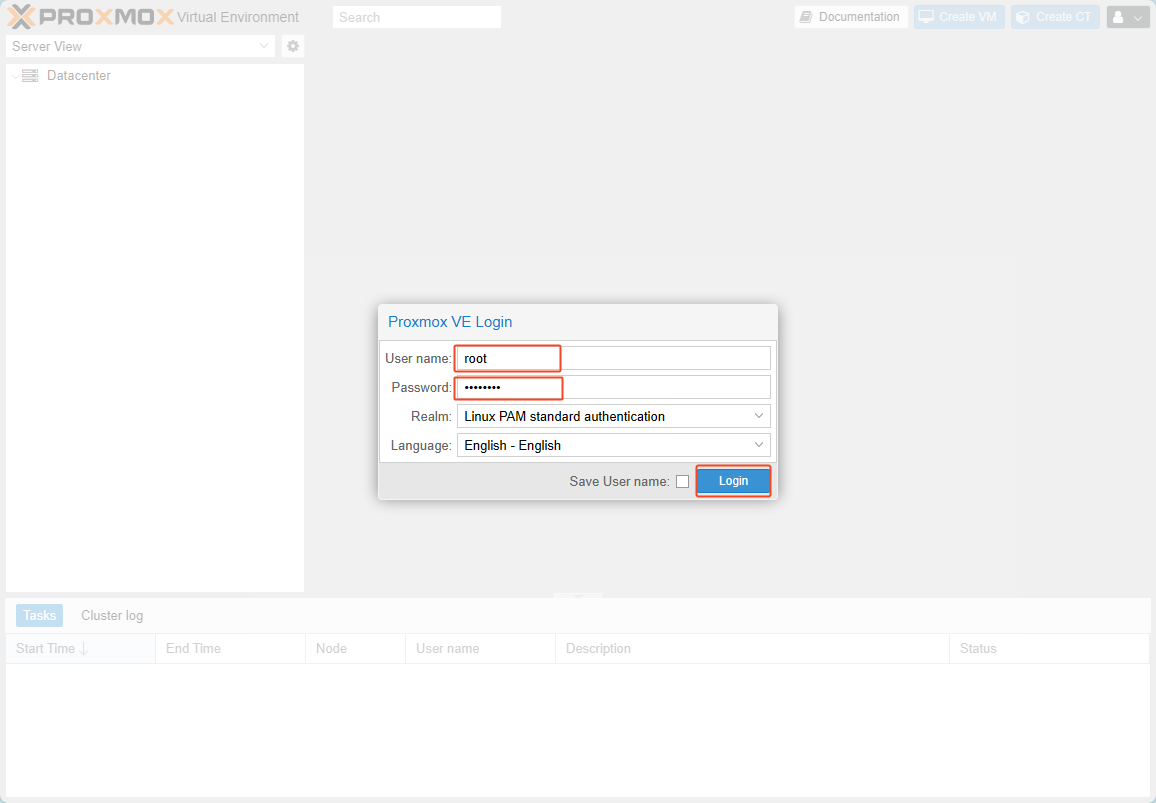
- Enter the administrator username and password, then click Login.
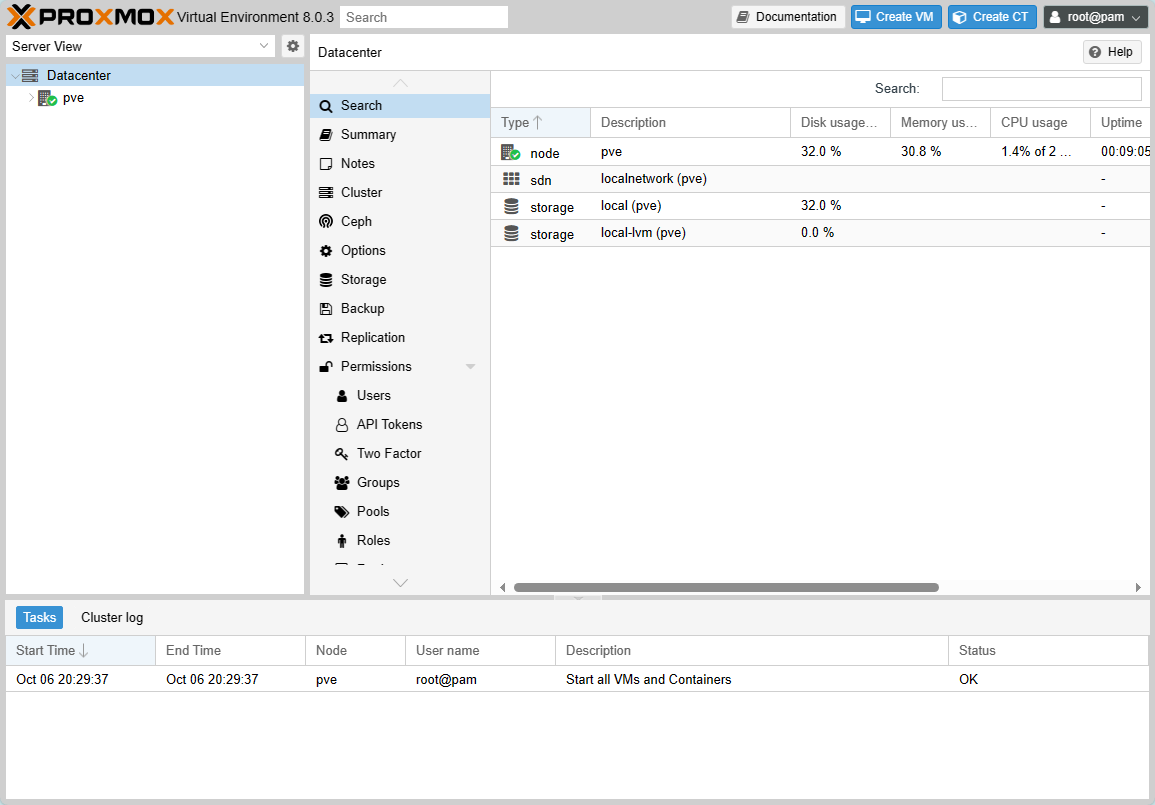
- You have successfully logged into the PVE management interface.
2. PVE Subscription & Repository Management#
PVE Repository Management#
- Proxmox VE Enterprise repository — Enterprise repository:
/etc/apt/sources.list.d/pve-enterprise.list - Proxmox VE No-Subscription or Free repository — No-Subscription repository:
/etc/apt/sources.list.d/pve-no-subscription.list - Proxmox VE Test repository — Test repository
Since PVE is based on Debian, it uses APT as its package manager. Most individuals use PVE either for learning purposes or to set up a personal server, so we will disable the Proxmox VE Enterprise repository. However, to receive community support and version updates, we will enable the Proxmox VE No-Subscription repository.
You can make these changes either through the PVE WebGUI management interface or via the node’s Shell:
CLI#
- In the PVE WebGUI management interface, navigate to Node → Shell (or log in via SSH) to access the command-line console.
- Run
vim.tiny /etc/apt/sources.list.d/pve-enterprise.listto open the file. Move the cursor to the beginning of the line, pressito enter insert mode, type#to comment out the line, pressescto exit insert mode, then typeZZ(two uppercase Z’s) to save and quit. - Next, run
vim.tiny /etc/apt/sources.list.d/pve-no-subscription.listto open the No-Subscription repository file. Move the cursor to the beginning of the line and pressxto delete the#character, enabling the No-Subscription repository. TypeZZto save and quit.
WebGUI#
- Open the PVE WebGUI management interface and navigate to Node → Repositories to access the repository management page.
- In the Content Panel on the right, select the pve-enterprise Enterprise repository, then click the Disable button at the top to disable it.
- Next, select the pve-no-subscription No-Subscription repository in the same panel, then click the Enable button at the top to enable it.
Removing the Subscription Notice from the PVE WebGUI Login (No longer works after PVE 8.02)#
Without an active PVE enterprise subscription, a No valid subscription popup appears every time you log into the PVE Web management interface. You can remove this popup by following the steps below.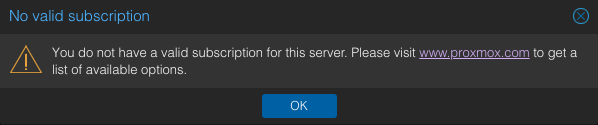
- Change directory
cd /usr/share/javascript/proxmox-widget-toolkit - Back up the file
cp proxmoxlib.js proxmoxlib.js.bak - Edit the file
vim.tiny proxmoxlib.js - Locate the following lines
Ext.Msg.show({ title: gettext('No valid subscription'), - Replace
Ext.Msg.showwithvoidvoid({ //Ext.Msg.show({ title: gettext('No valid subscription'),
- Restart the PVE web server
systemctl restart pveproxy.service
3. Exploring the PVE WebGUI Management Interface#
The PVE WebGUI management interface is divided into four sections:
- Header
- Resource Tree
- Content Panel
- Log Panel
1. Header#
The Header at the top of the page contains:
- Documentation: Opens the local PVE documentation.
- Create VM: Creates a new Virtual Machine.
- Create CT: Creates a new Container.
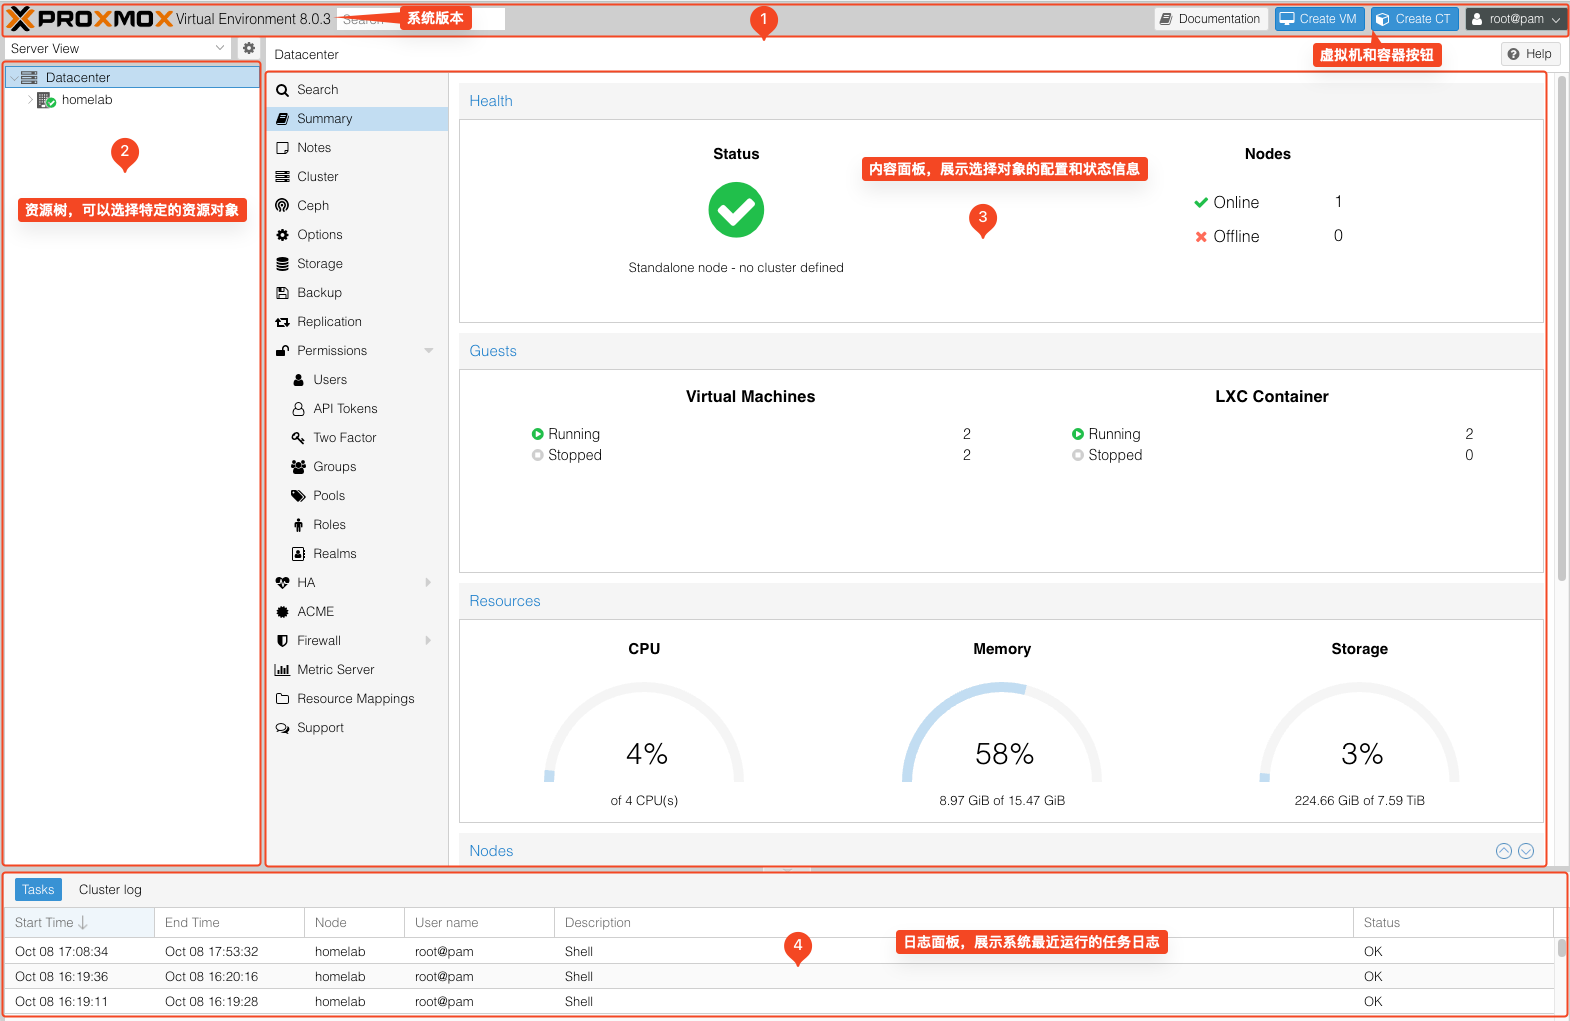
2. Resource Tree#
- Datacenter: Contains settings for all Clusters.
- Node: Allows you to manage individual nodes within a Cluster.
- Guest: Displays created Virtual Machines and Containers. You can manage specific Guests at this level.
- Storage: The data storage center. You can monitor and manage storage from this section.

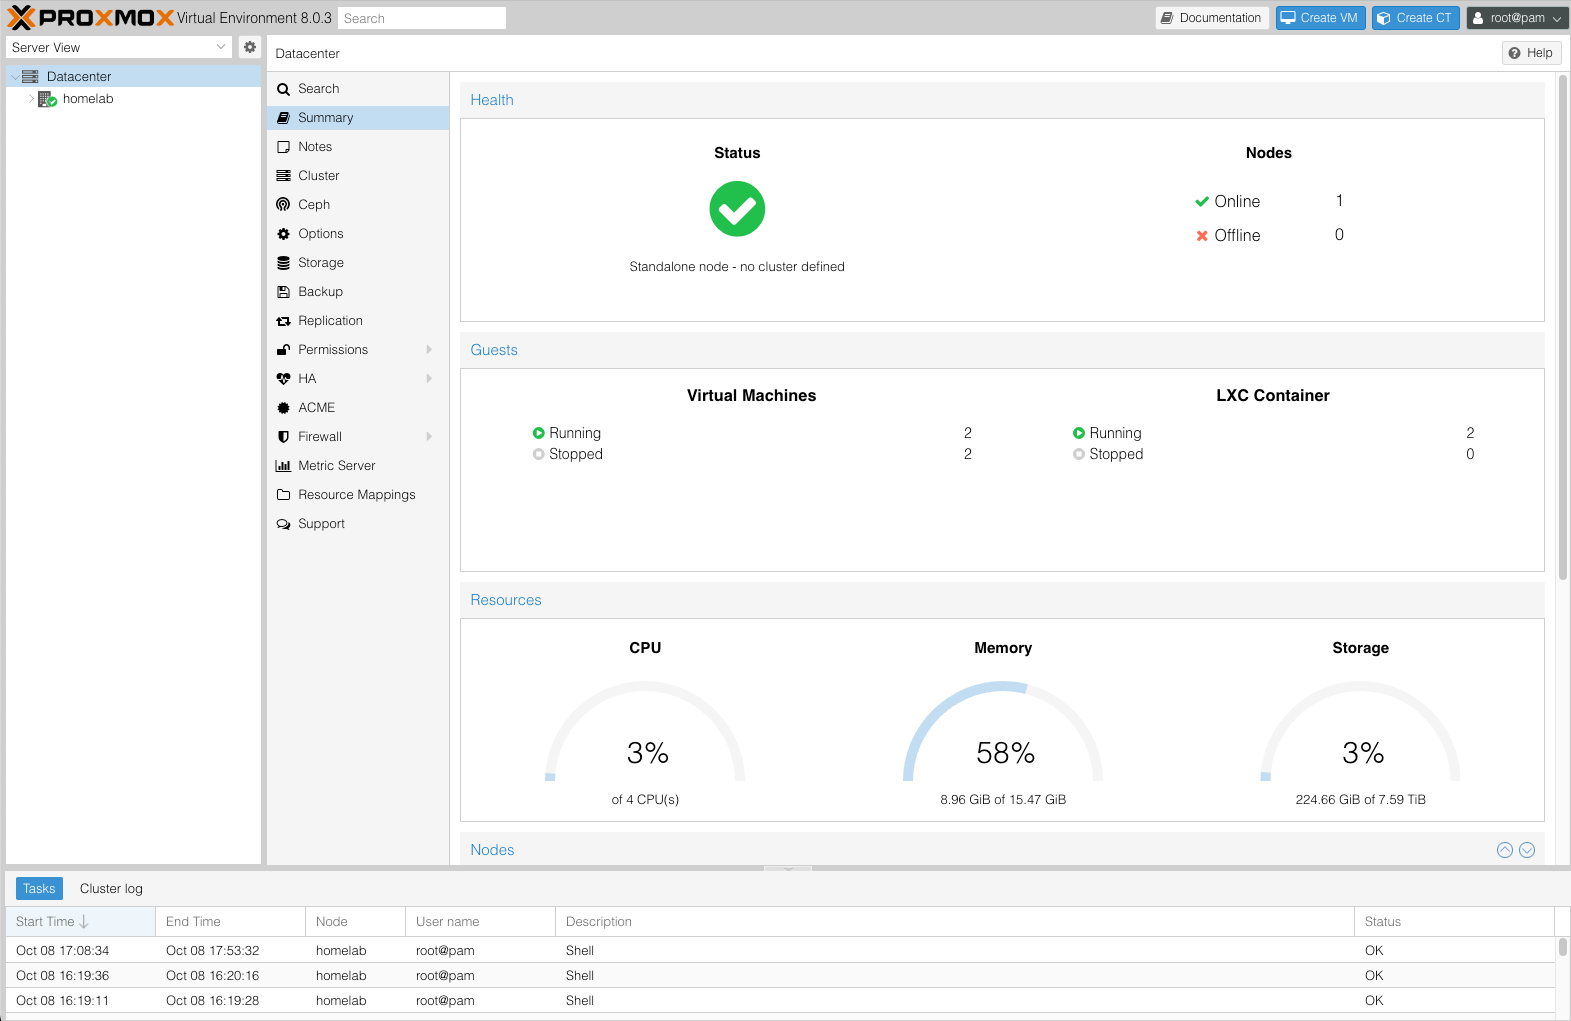
3. Content Panel#
Each item in the Resource Tree has its own dedicated Content Panel. The specific panels are as follows:
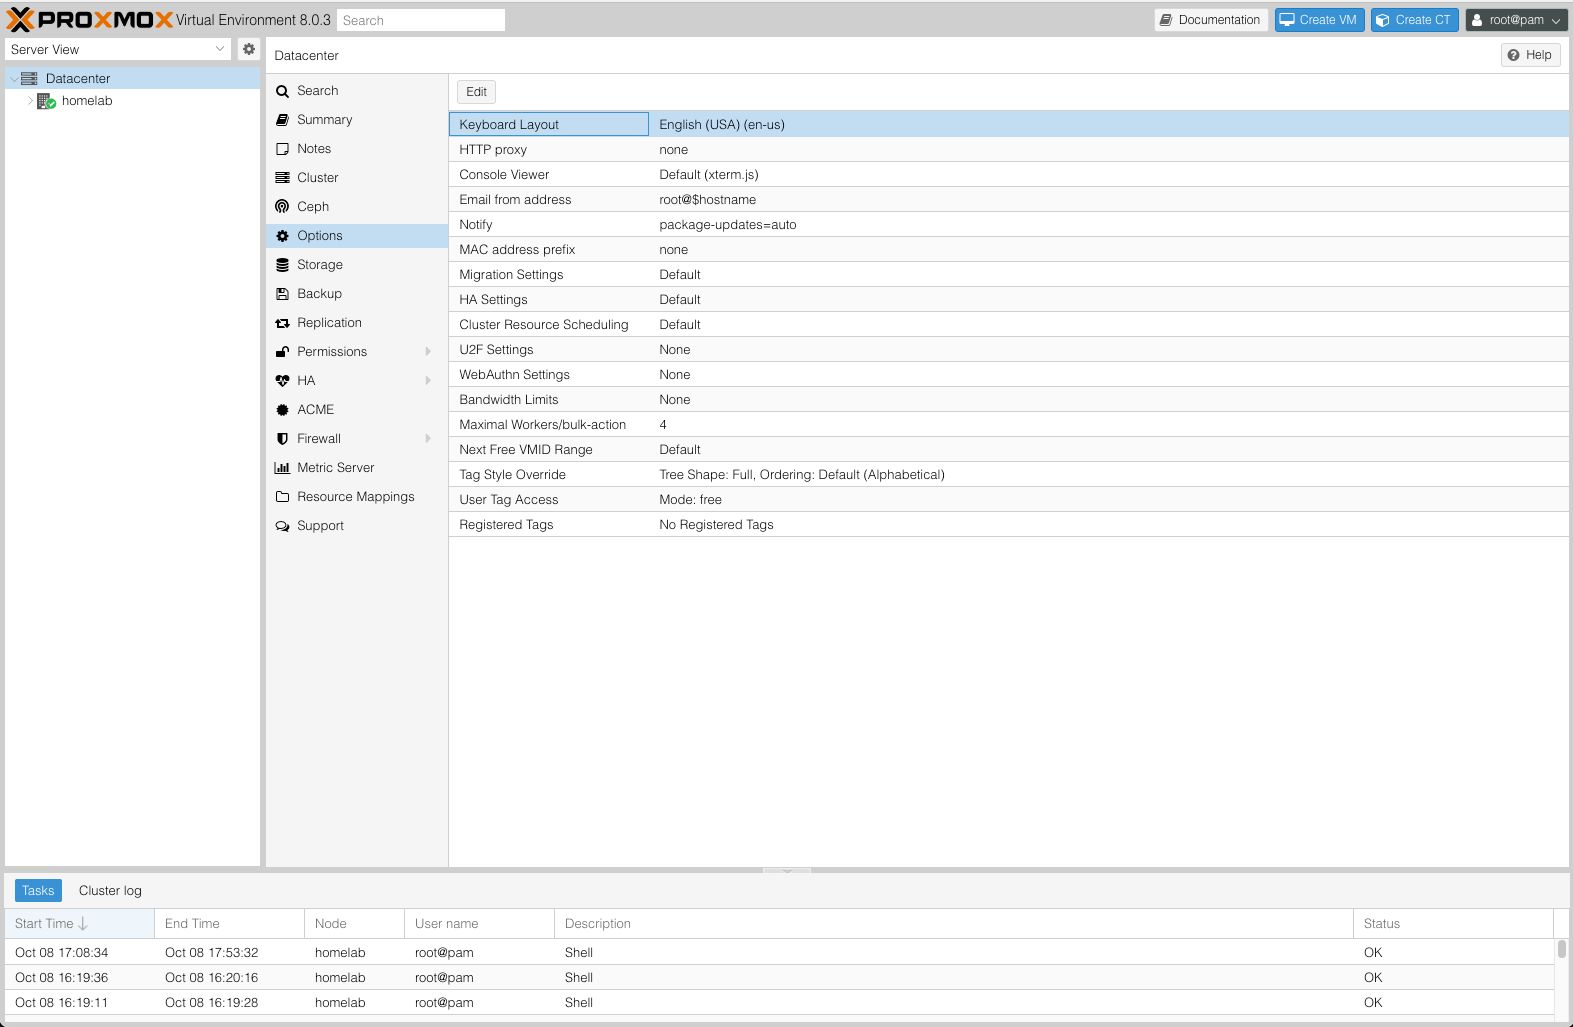
Datacenter#
The Datacenter section is primarily used for Cluster-wide settings. The available options are:
- Summary: Displays the overall health and resource usage across all Cluster nodes.
- Cluster: Cluster management.
- Options: Default Cluster settings, including keyboard layout, proxy configuration, etc.
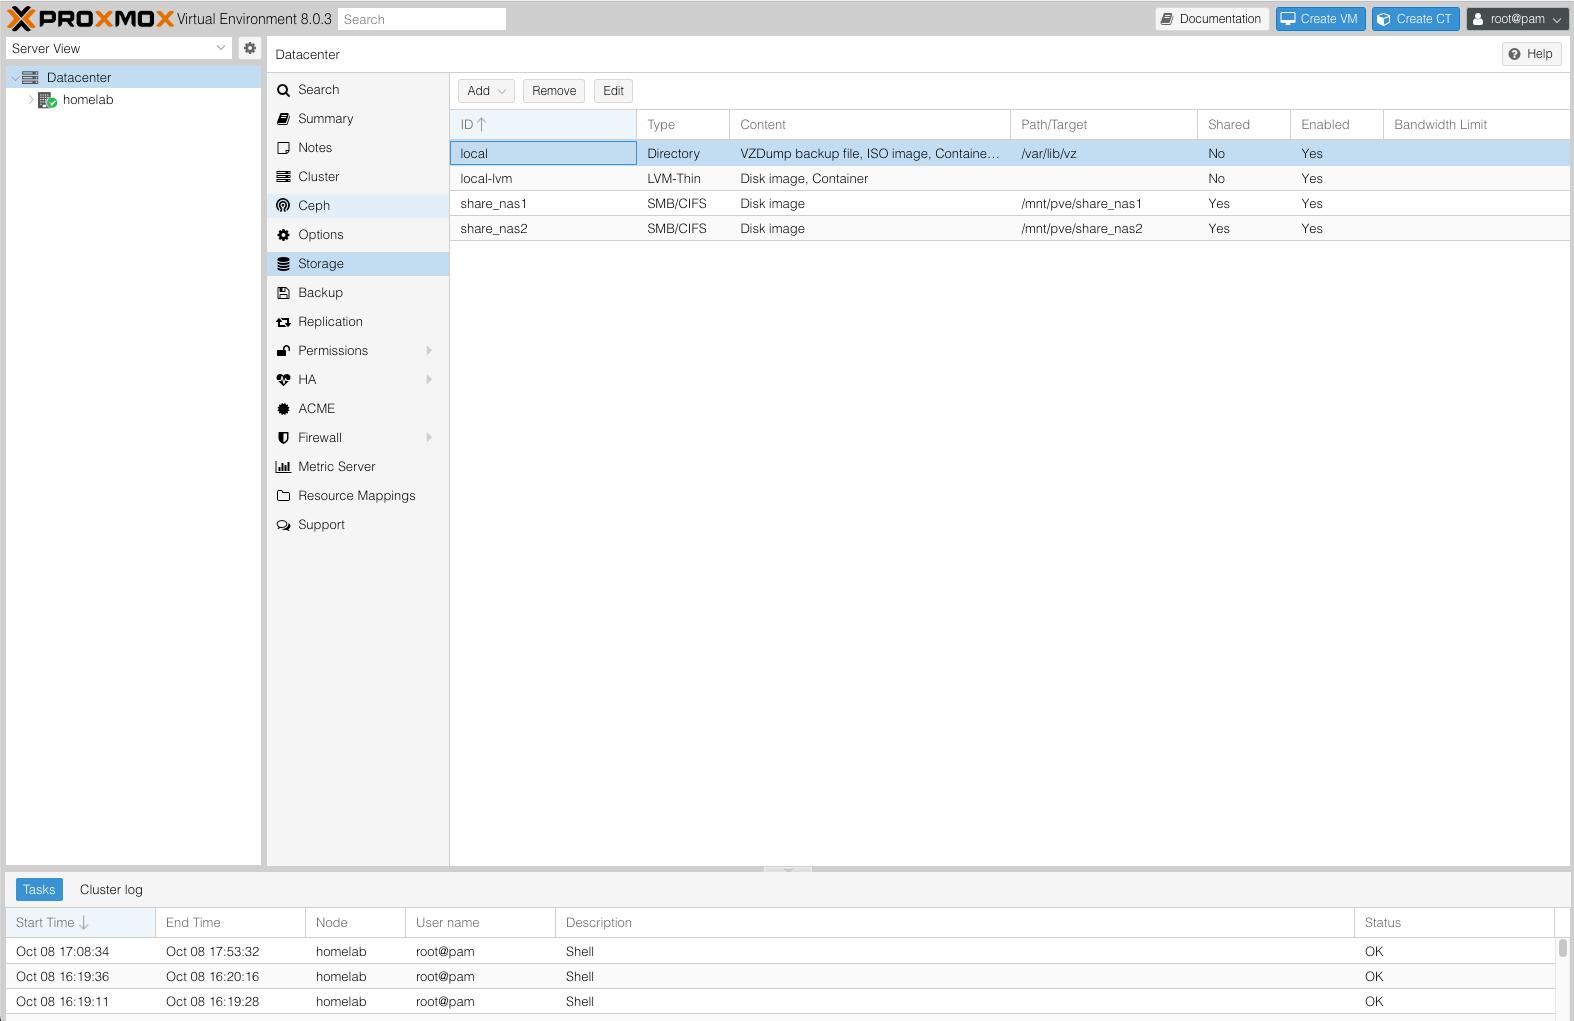
- Storage: Cluster-wide storage management.
- Permission: Manage users, groups, and API token permissions, as well as LDAP, MS-AD, and Two-Factor authentication.
- HA: Manage Proxmox VE High Availability (HA).
- ACME: Configure ACME certificates for server nodes.
- Firewall: Firewall settings.
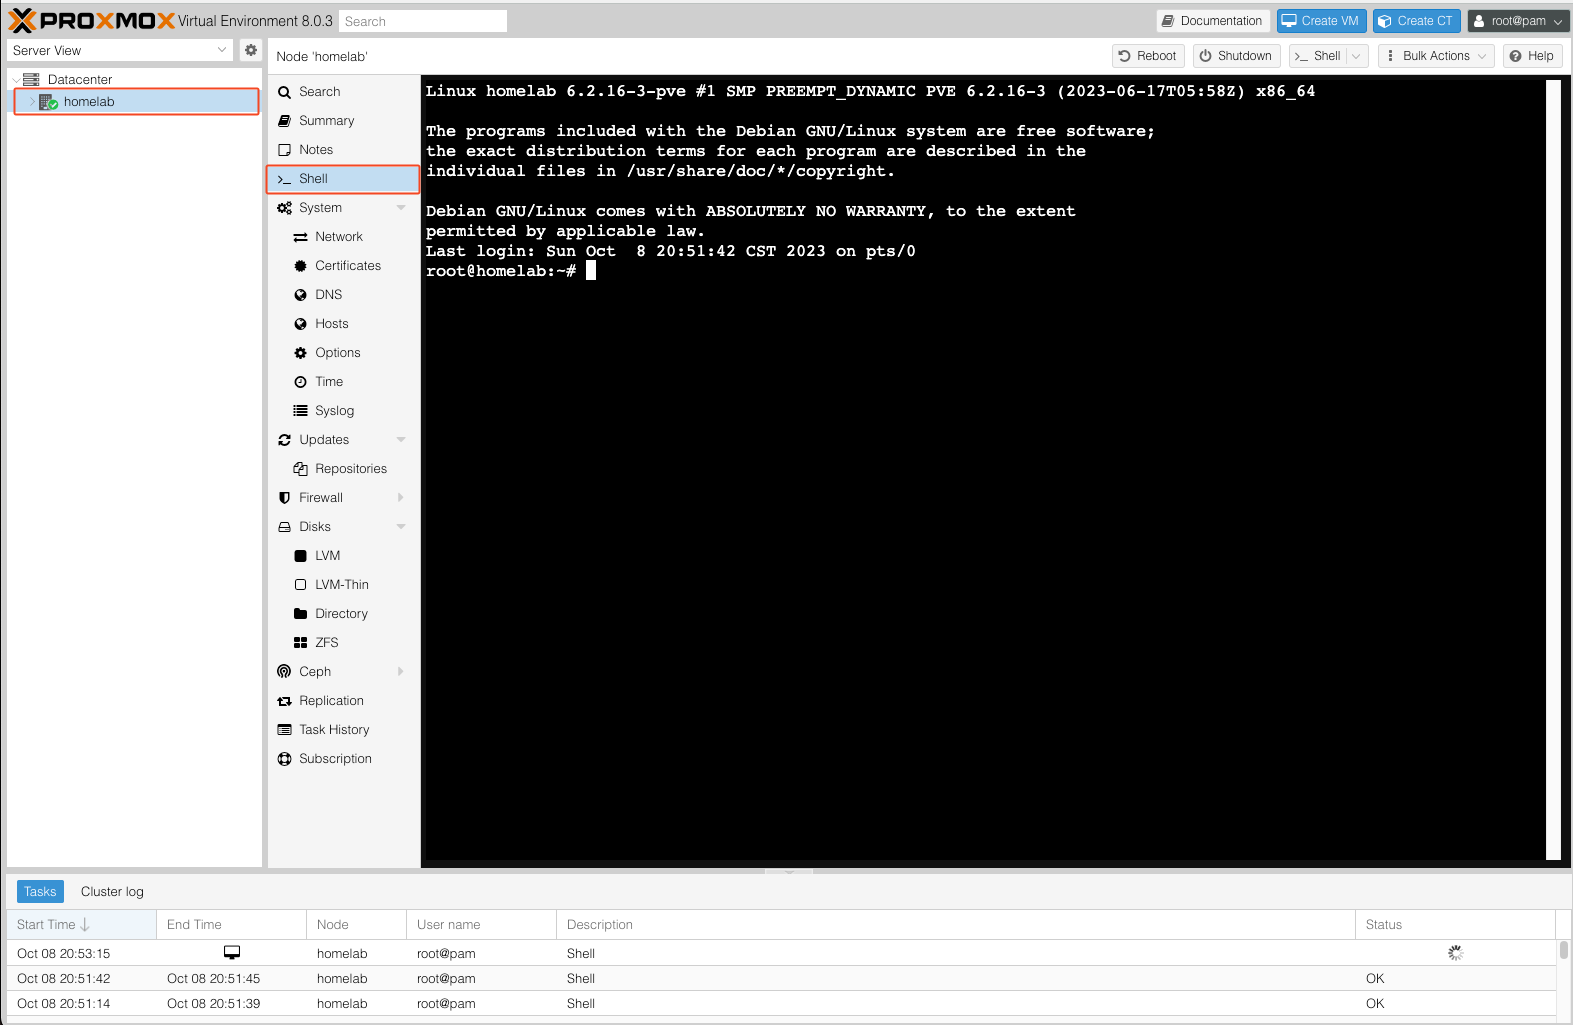
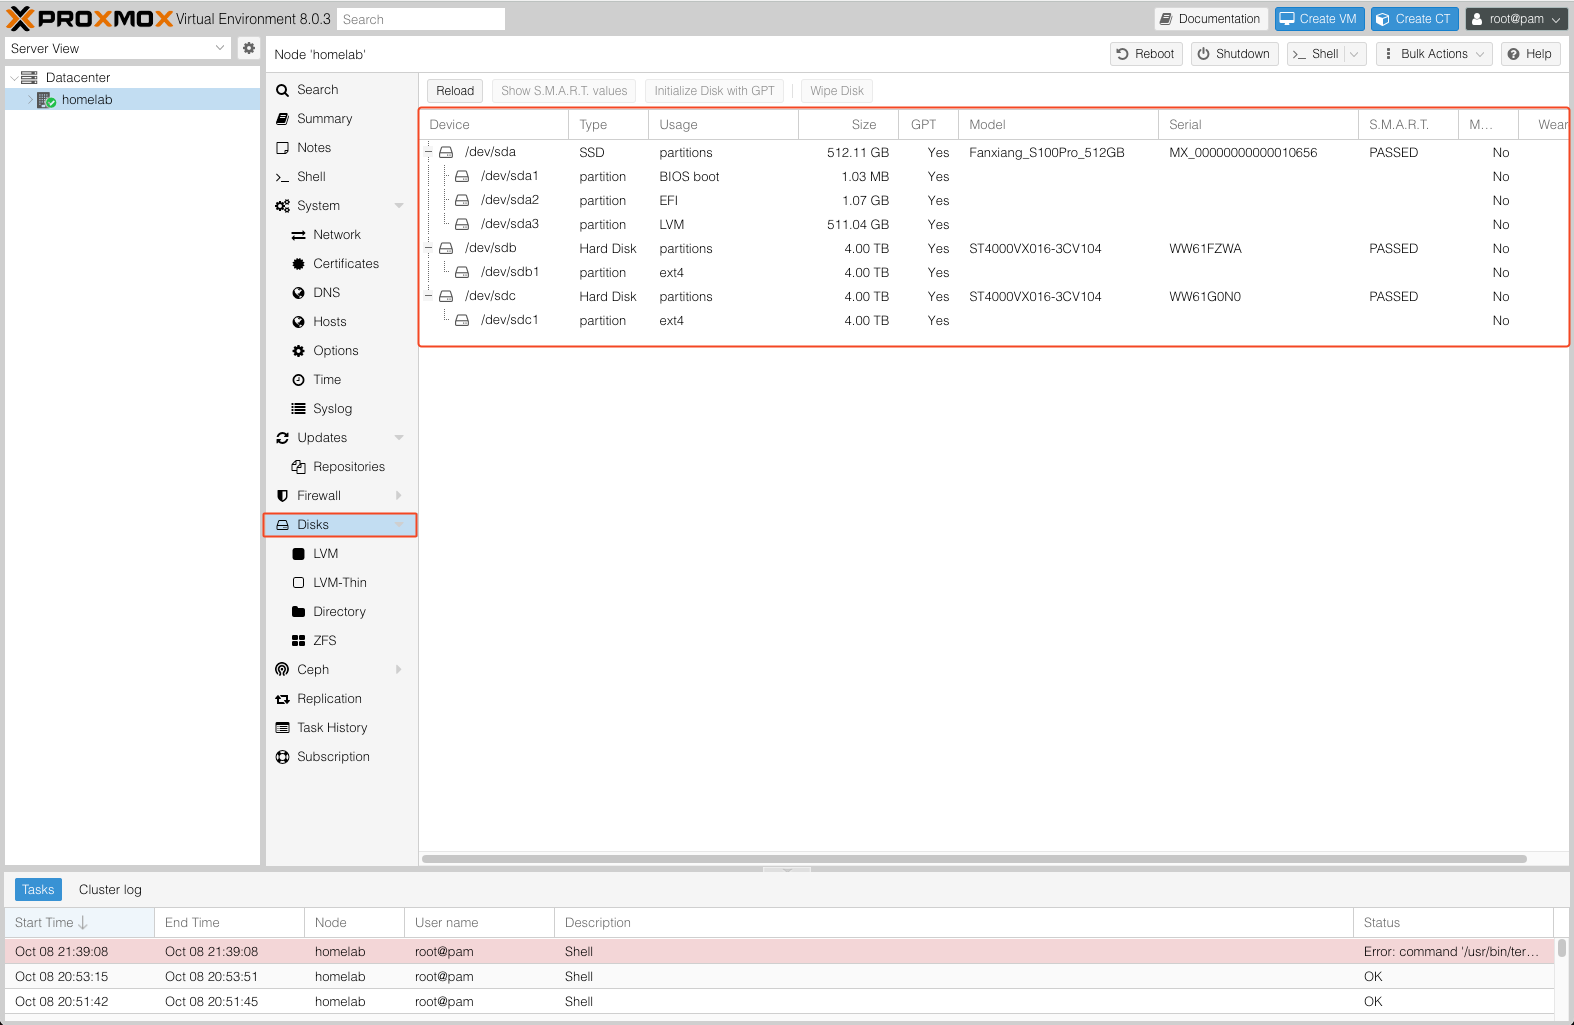
Node#
Configuration and management of an individual Node. The upper-right corner provides several shortcut buttons: Reboot, Shutdown, Shell, and Bulk Actions. Key options to note:
- Summary: Displays resource usage for the Node.
- Shell: Provides terminal access to the Node.
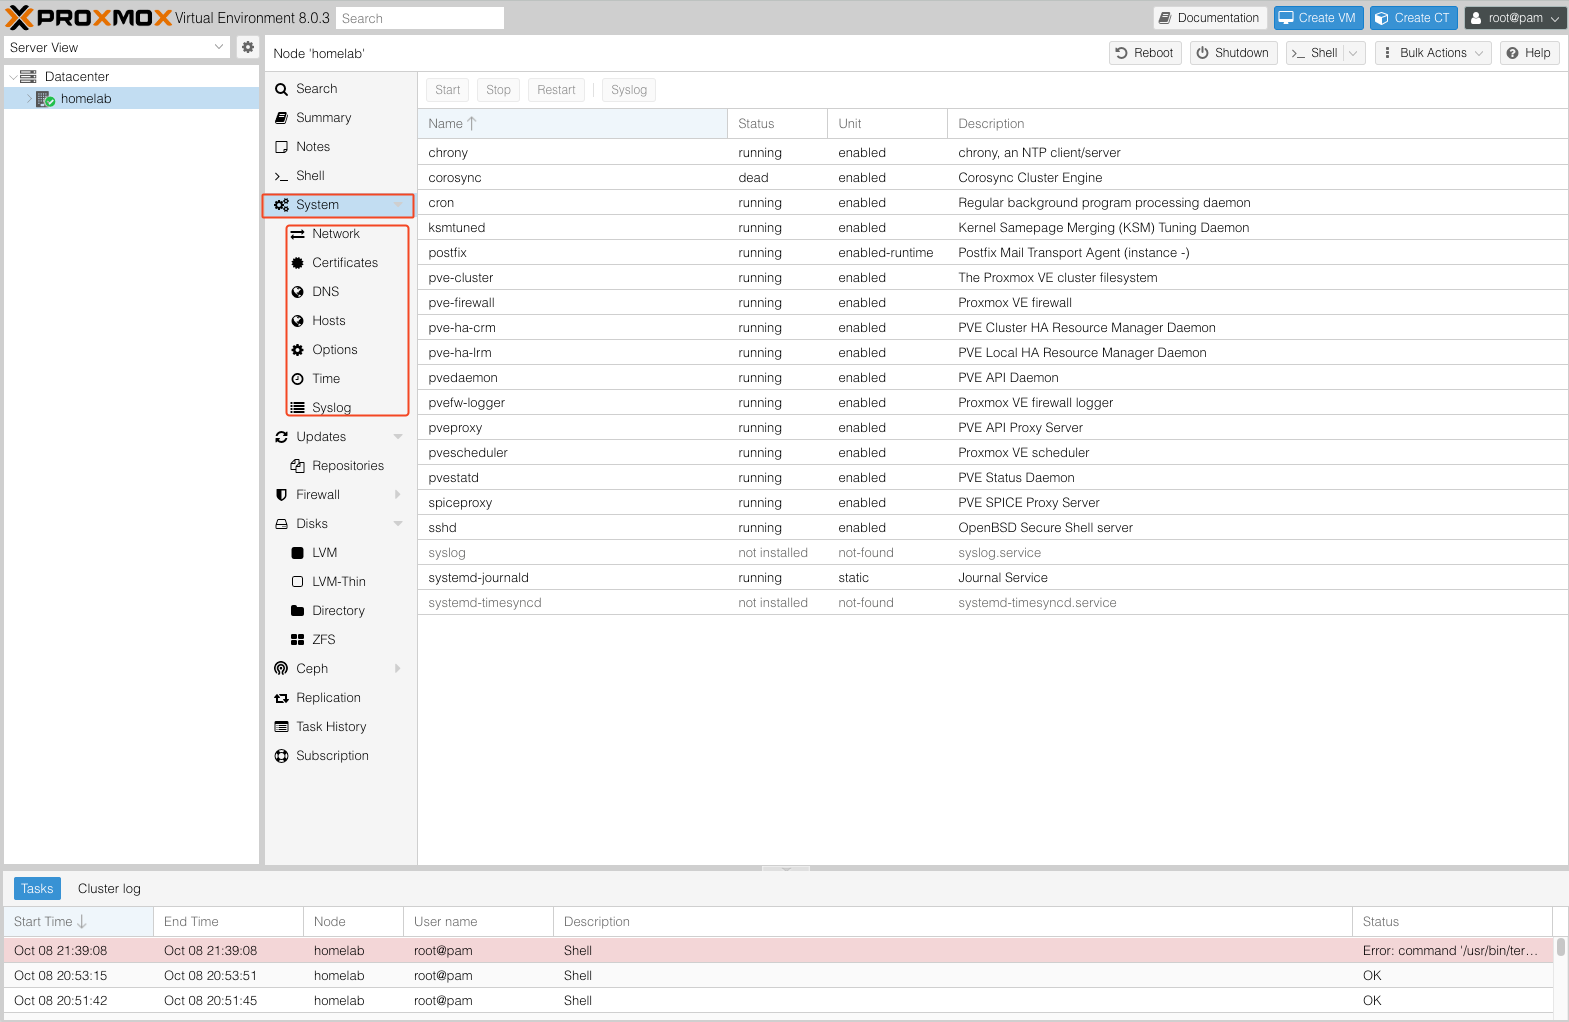
- System: Configure network, DNS, and time settings, and view system logs.
- Disks: View the status of connected disks.

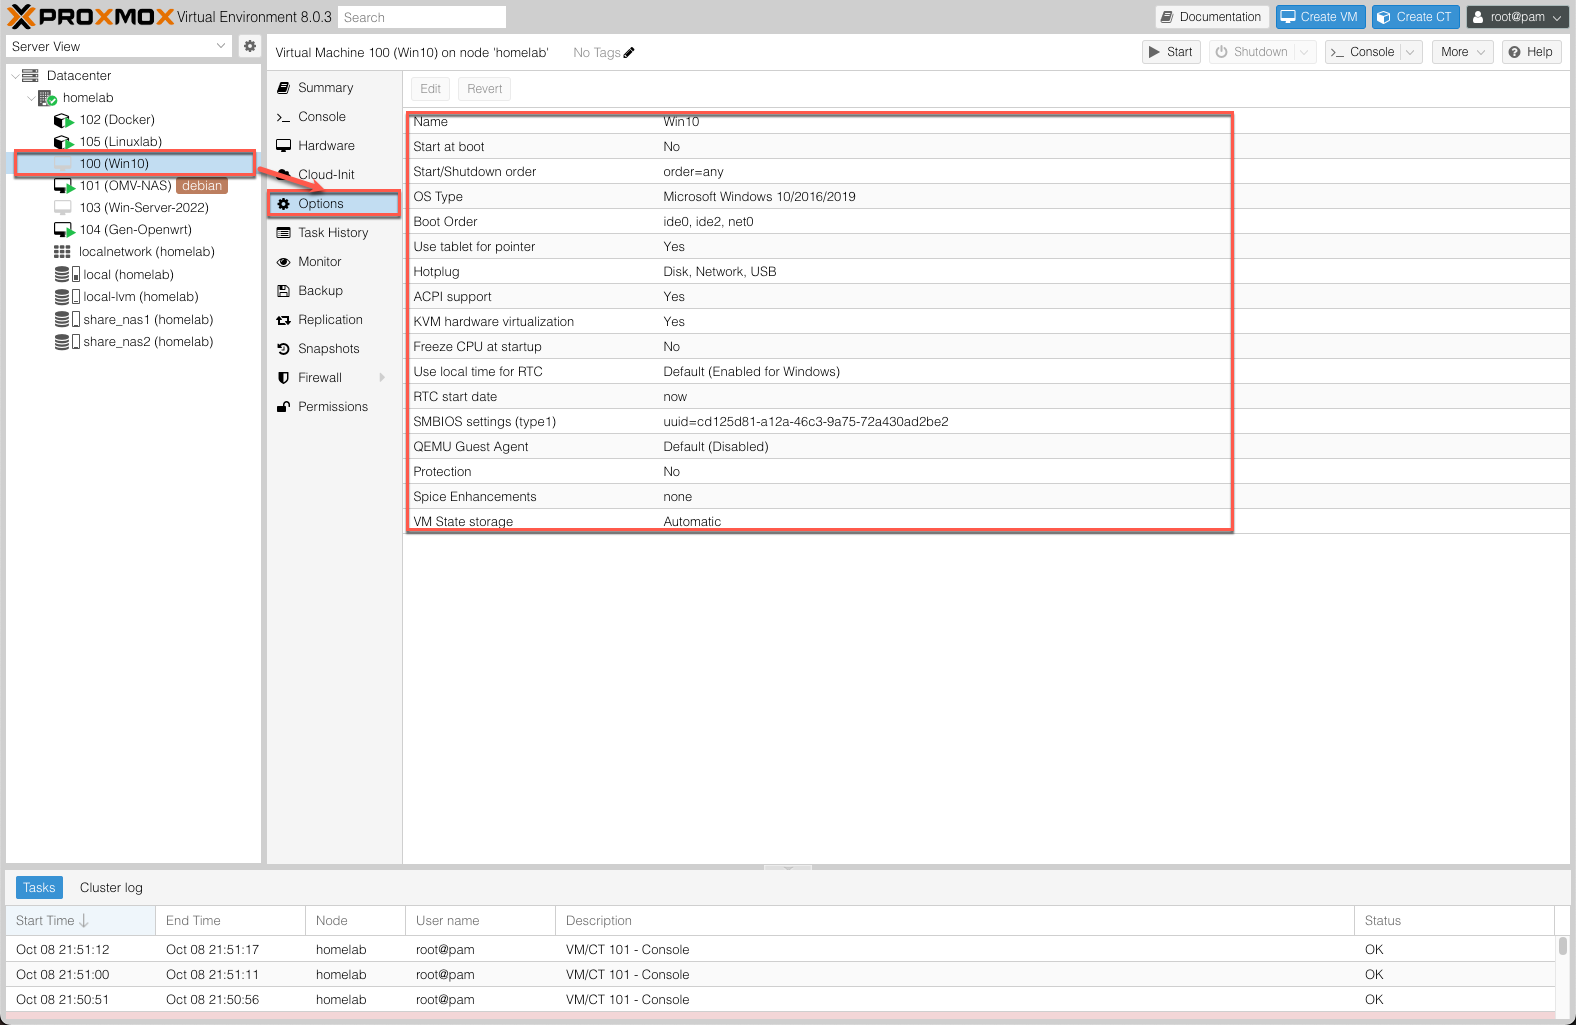
Guests#
Guests are divided into KVM (Kernel-based Virtual Machine) Virtual Machines and LXC (Linux Container) Containers.
The upper-right corner of the Header provides shortcut buttons: Start, Shutdown, Console, Clone, Migrate, etc.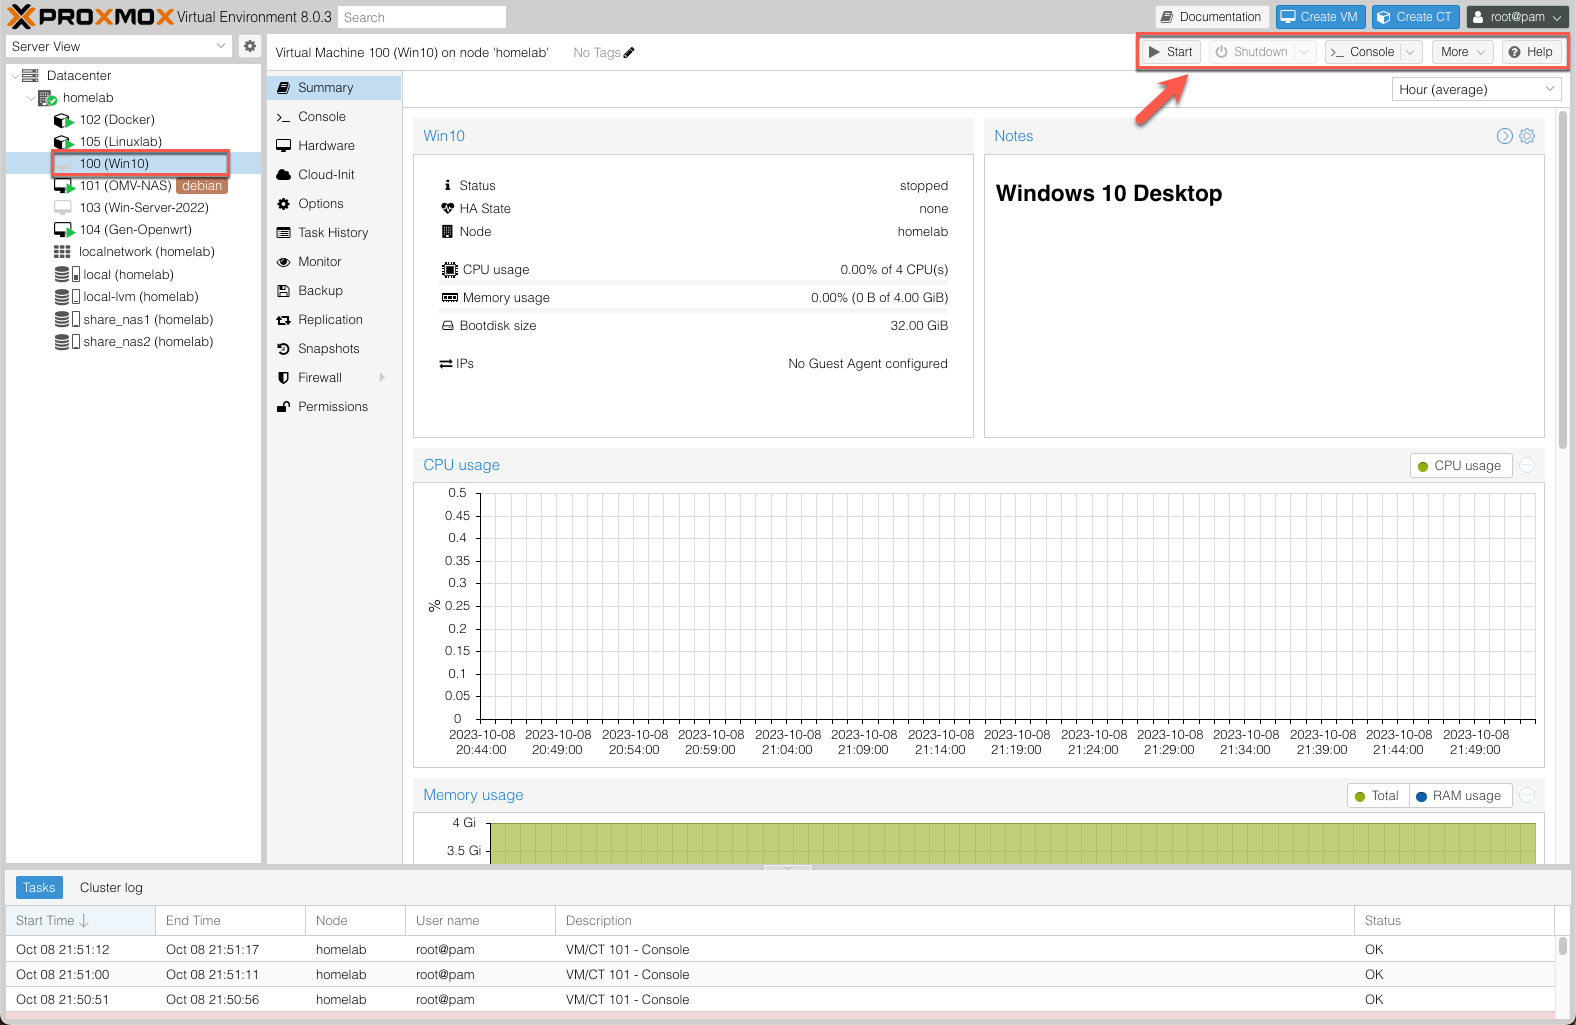
- Summary: Basic information about the Virtual Machine.
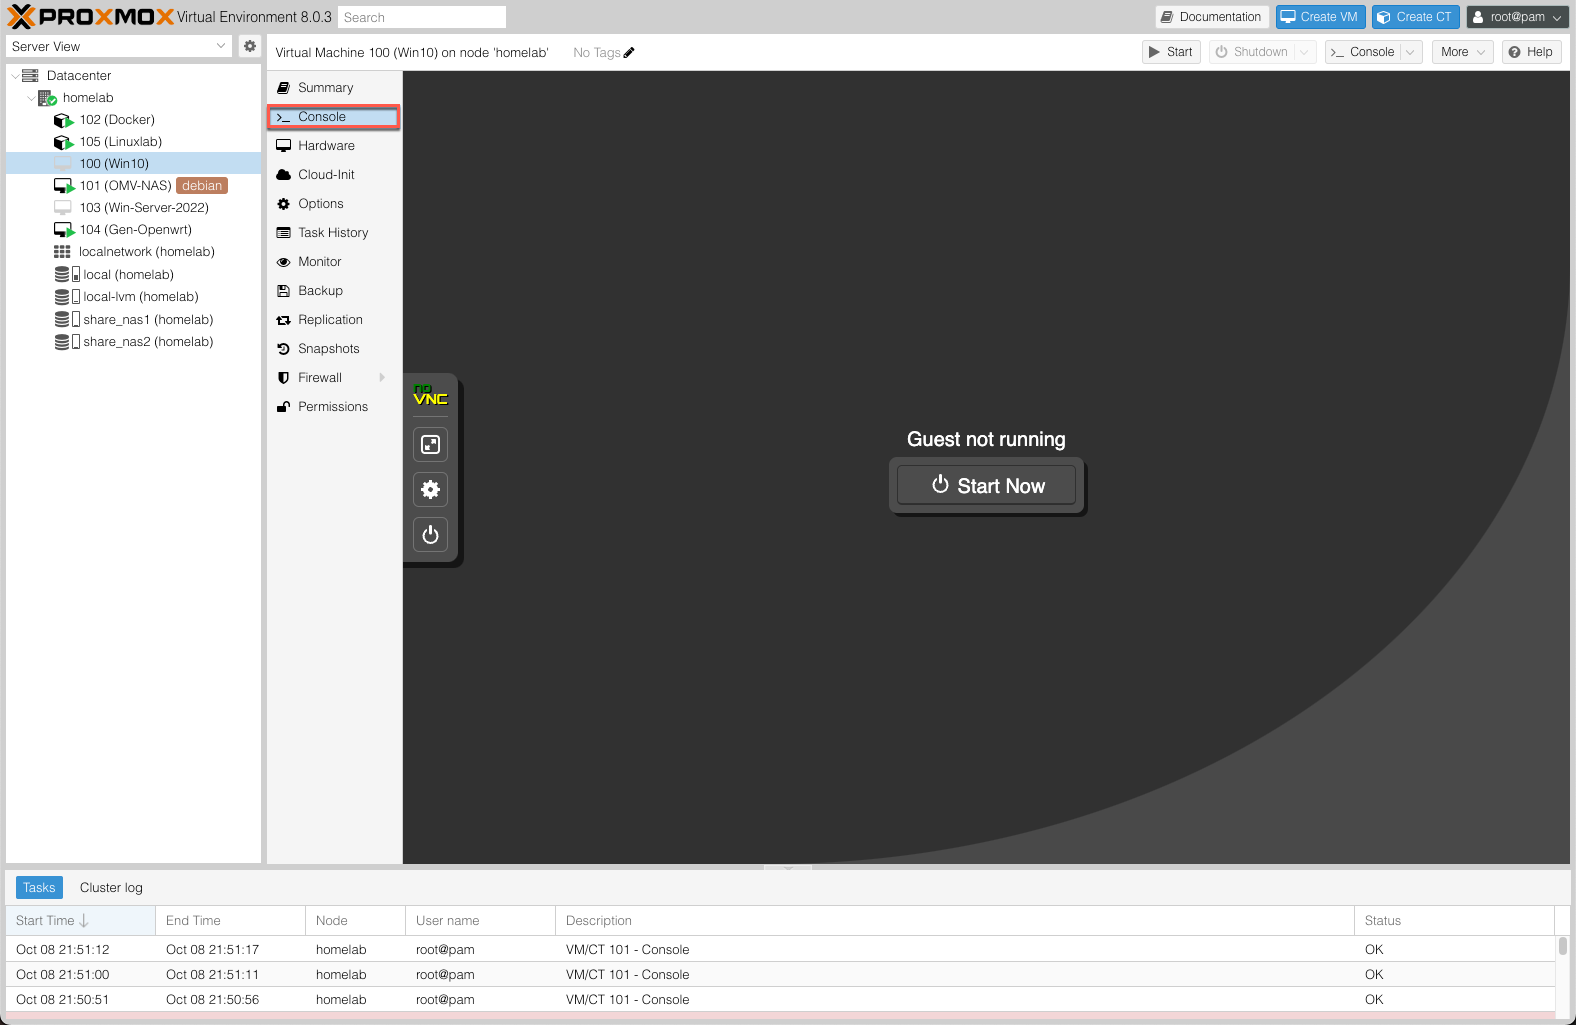
- Console: Access the Virtual Machine console.
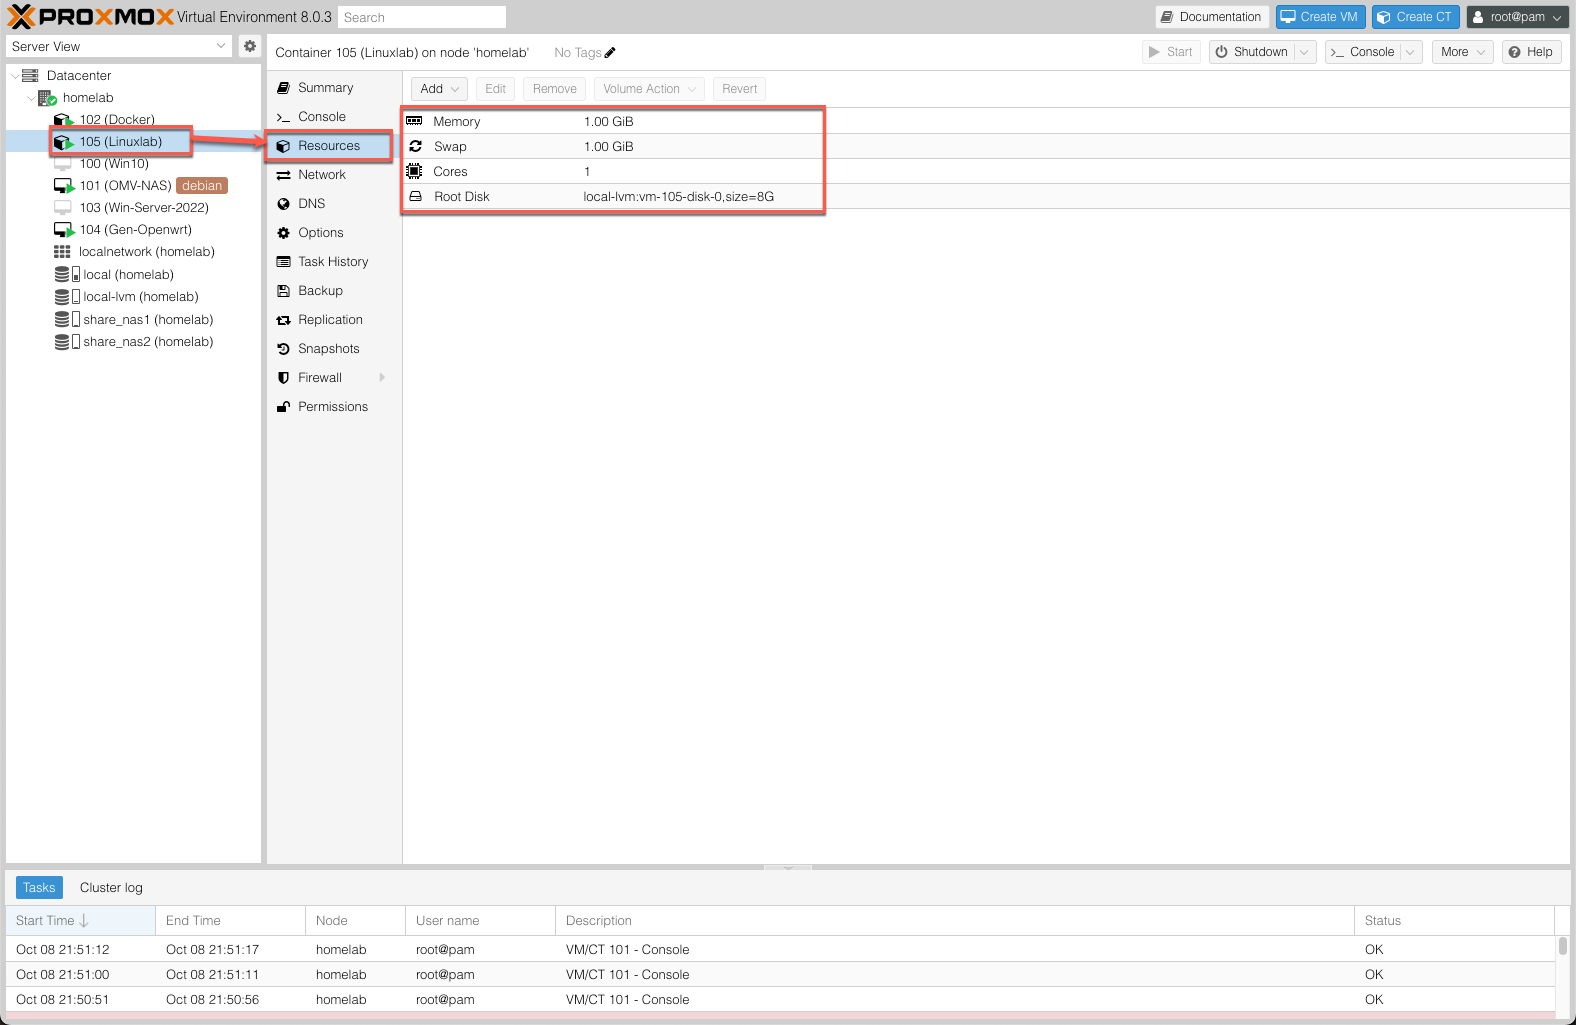
- (KVM) Hardware: Define the hardware available to the Virtual Machine.
- (LXC) Resources: Define the system resources available to the Container.
- Options: Guest configuration settings.
- Backup: Create and restore system backups.
- Snapshots: Create and restore Virtual Machine Snapshots.

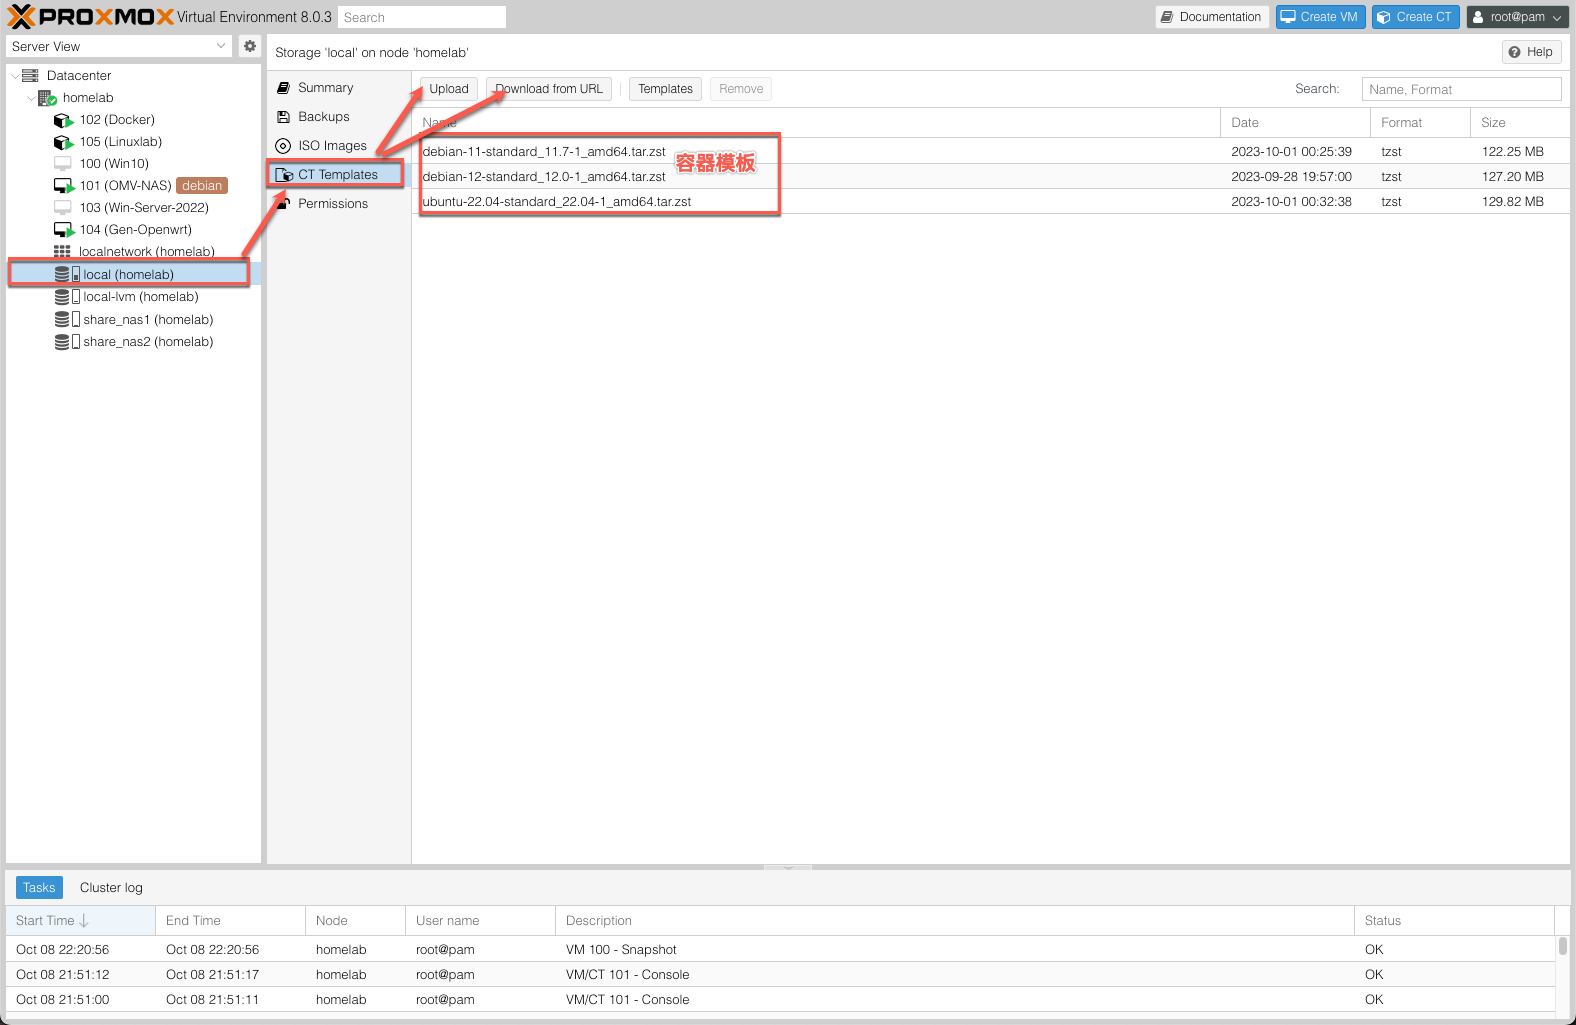
Storage#
This section displays all storage devices mounted in the Cluster Datacenter.
- Summary: Displays key information about the storage, including type, usage, and content.
- Content: Menu entries for each content type stored, including:
- ISO Images: Uploaded or downloaded Virtual Machine images.
- CT Templates: Uploaded or downloaded LXC Container templates.
- Backups: Virtual Machine backups.
- VM Disks: QEMU/KVM Guest VM images.
- CT Volumes: Container data volumes.
- Permissions: Manage storage permissions.

4. Log Panel#
The Log Panel serves the following purposes:
- Displays what is currently happening on the Cluster nodes;
- Background operations such as creating a Virtual Machine are run as tasks;
- All task output is saved to a separate log file — double-click a task entry to view it;
- Allows you to terminate running tasks.
4. Changing the PVE IP Address#
If you need to change the PVE IP address for any reason, you must modify the following three files:
/etc/network/interfaces/etc/hosts/etc/issue- Reboot the system